Choosing to try dermaplane facial is a of matter personal preference, and so is opting to do it on your own. Dermaplaning in the comfort of your home is the most cost-effective way to treat yourself to a cosmetic procedure, and all you need are good tools and sufficient self-confidence to enjoy a private aesthetic experience.
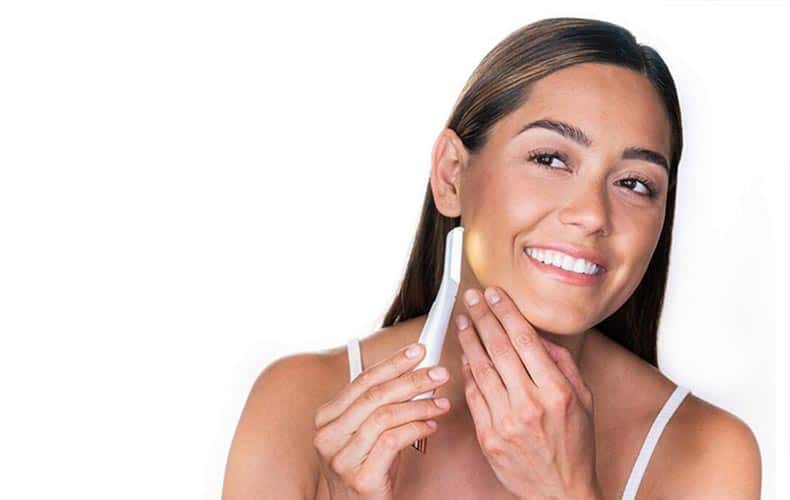
Exfoliating the top layer of your skin is necessary to improve its texture and achieve a flawless appearance. The skin’s collagen production and cell turnover slow down as you age, which makes the surface dull and dry. With that, getting rid of dead skin cells and peach fuzz is important to renew your glow in no time.
Step by Step At-Home Dermaplaning Process:
Prep your skin
The first step to doing your own dermaplaning treatment at home is to make sure that your skin is prepped. Use a gentle face cleanser to remove all the dirt and oils accumulated on the surface of your skin. It is important to thoroughly cleanse your face to avoid driving germs into your pores.
Read This Next:

After washing your face, pat it dry and then go over the surface one more time with a cotton pad soaked with toner.
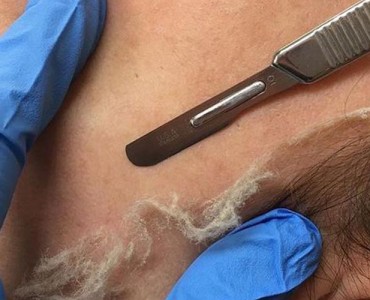
Prepare your Dermablade
One good point to remember when dermaplaning at home is to prepare all the tools and products you need in one place. This way, everything is within reach and it will make the entire procedure convenient.
Your dermablade or razor should always be clean. Cleanse it with 70% isopropyl alcohol to ensure that it is safe to use and will not trigger any infection in your facial area. You can also use your razor two to three times, provided that you will always clean it.
Read This Next:
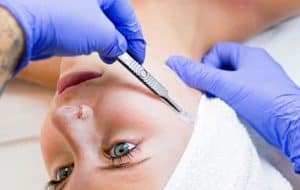
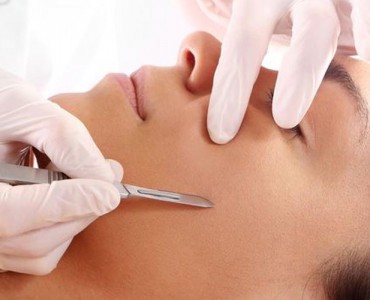
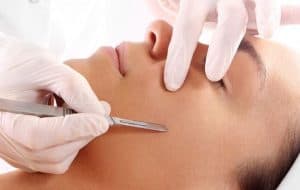
Pull the skin tight and hold your razor at a 45-degree angle
A steady and precise hand is needed for a successful at-home dermaplaning. Hold your skin taut, and angle your razor at 45 degrees to make sure that you will not cut yourself.
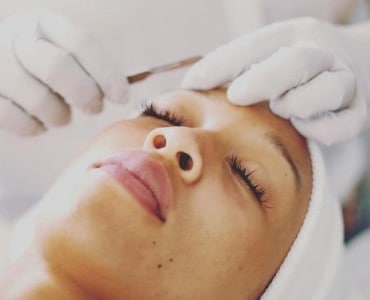
Glide the blade downward in feathery strokes.
Use gentle, feather-like strokes starting at the top of the ear. Then you can proceed moving down towards the jawline, chin, and upper lip. Proceed to the side of the eyes then to your forehead, still doing downward strokes. Peach fuzz is concentrated around the upper lip and jawline areas, so you should focus on those first.
Take note that acne breakouts should not be dermabladed, so you have to be careful not to irritate these areas during the treatment.
Read This Next:
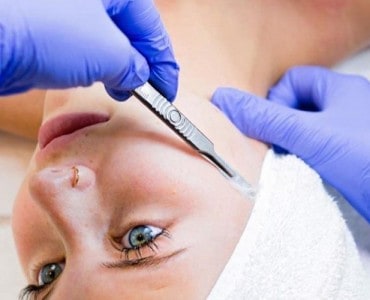
Check your work
When you’ve finally covered your entire face, it’s a must to check your work in case there are still fuzzy areas left. Remember to always be careful not to cut yourself while going over the treated surface once more.
Prioritize aftercare treatment
Once you’re done, treat your skin to a hydrating serum, then lock that in with a moisturizer for water retention. A good aftercare treatment will help your skin look brighter and plumper. Wearing SPF should also be prioritized as a post-care step.
Conclusion
At-home dermaplaning can basically give the same result as that of a spa treatment if you invest in quality tools and products. You can use a dermablade or razor, depending on your preference. It is also important to have excellent skincare products to use before and after the treatment to ensure that your skin is getting the care it deserves during the entire process.